Create a Workspace
The AWS Cloud9 Workspace is a cloud-based integrated development environment (IDE) that will be used for some exercises, other exercises will be run through the AWS CloudShell or the AWS Console. Thus check in the first steps of the chosen exercise if it will be necessary to create a Workspace.
The Cloud9 workspace should be built by an IAM user with Administrator privileges, not the root account user. Please ensure you are logged in as an IAM user, not the root account user.
Ad blockers, javascript disablers, and tracking blockers should be disabled for the cloud9 domain, or connecting to the workspace might be impacted. Cloud9 requires third-party-cookies. You can whitelist the specific domains.
Launch AWS Cloud9 Environment:
Create a Cloud9 Environment: https://us-east-1.console.aws.amazon.com/cloud9/home?region=us-east-1
Create a Cloud9 Environment: https://console.aws.amazon.com/cloud9/home?region=us-west-1
-
Select Create environment
-
Name it workshop, click Next.
-
In the Environment Settings make sure the option Create a new EC2 instance for environment (direct access) is selected.
-
Choose t3.small for instance type, take all default values and click Next Step
-
Review the details, and click Create environment (this will take a few minutes)
-
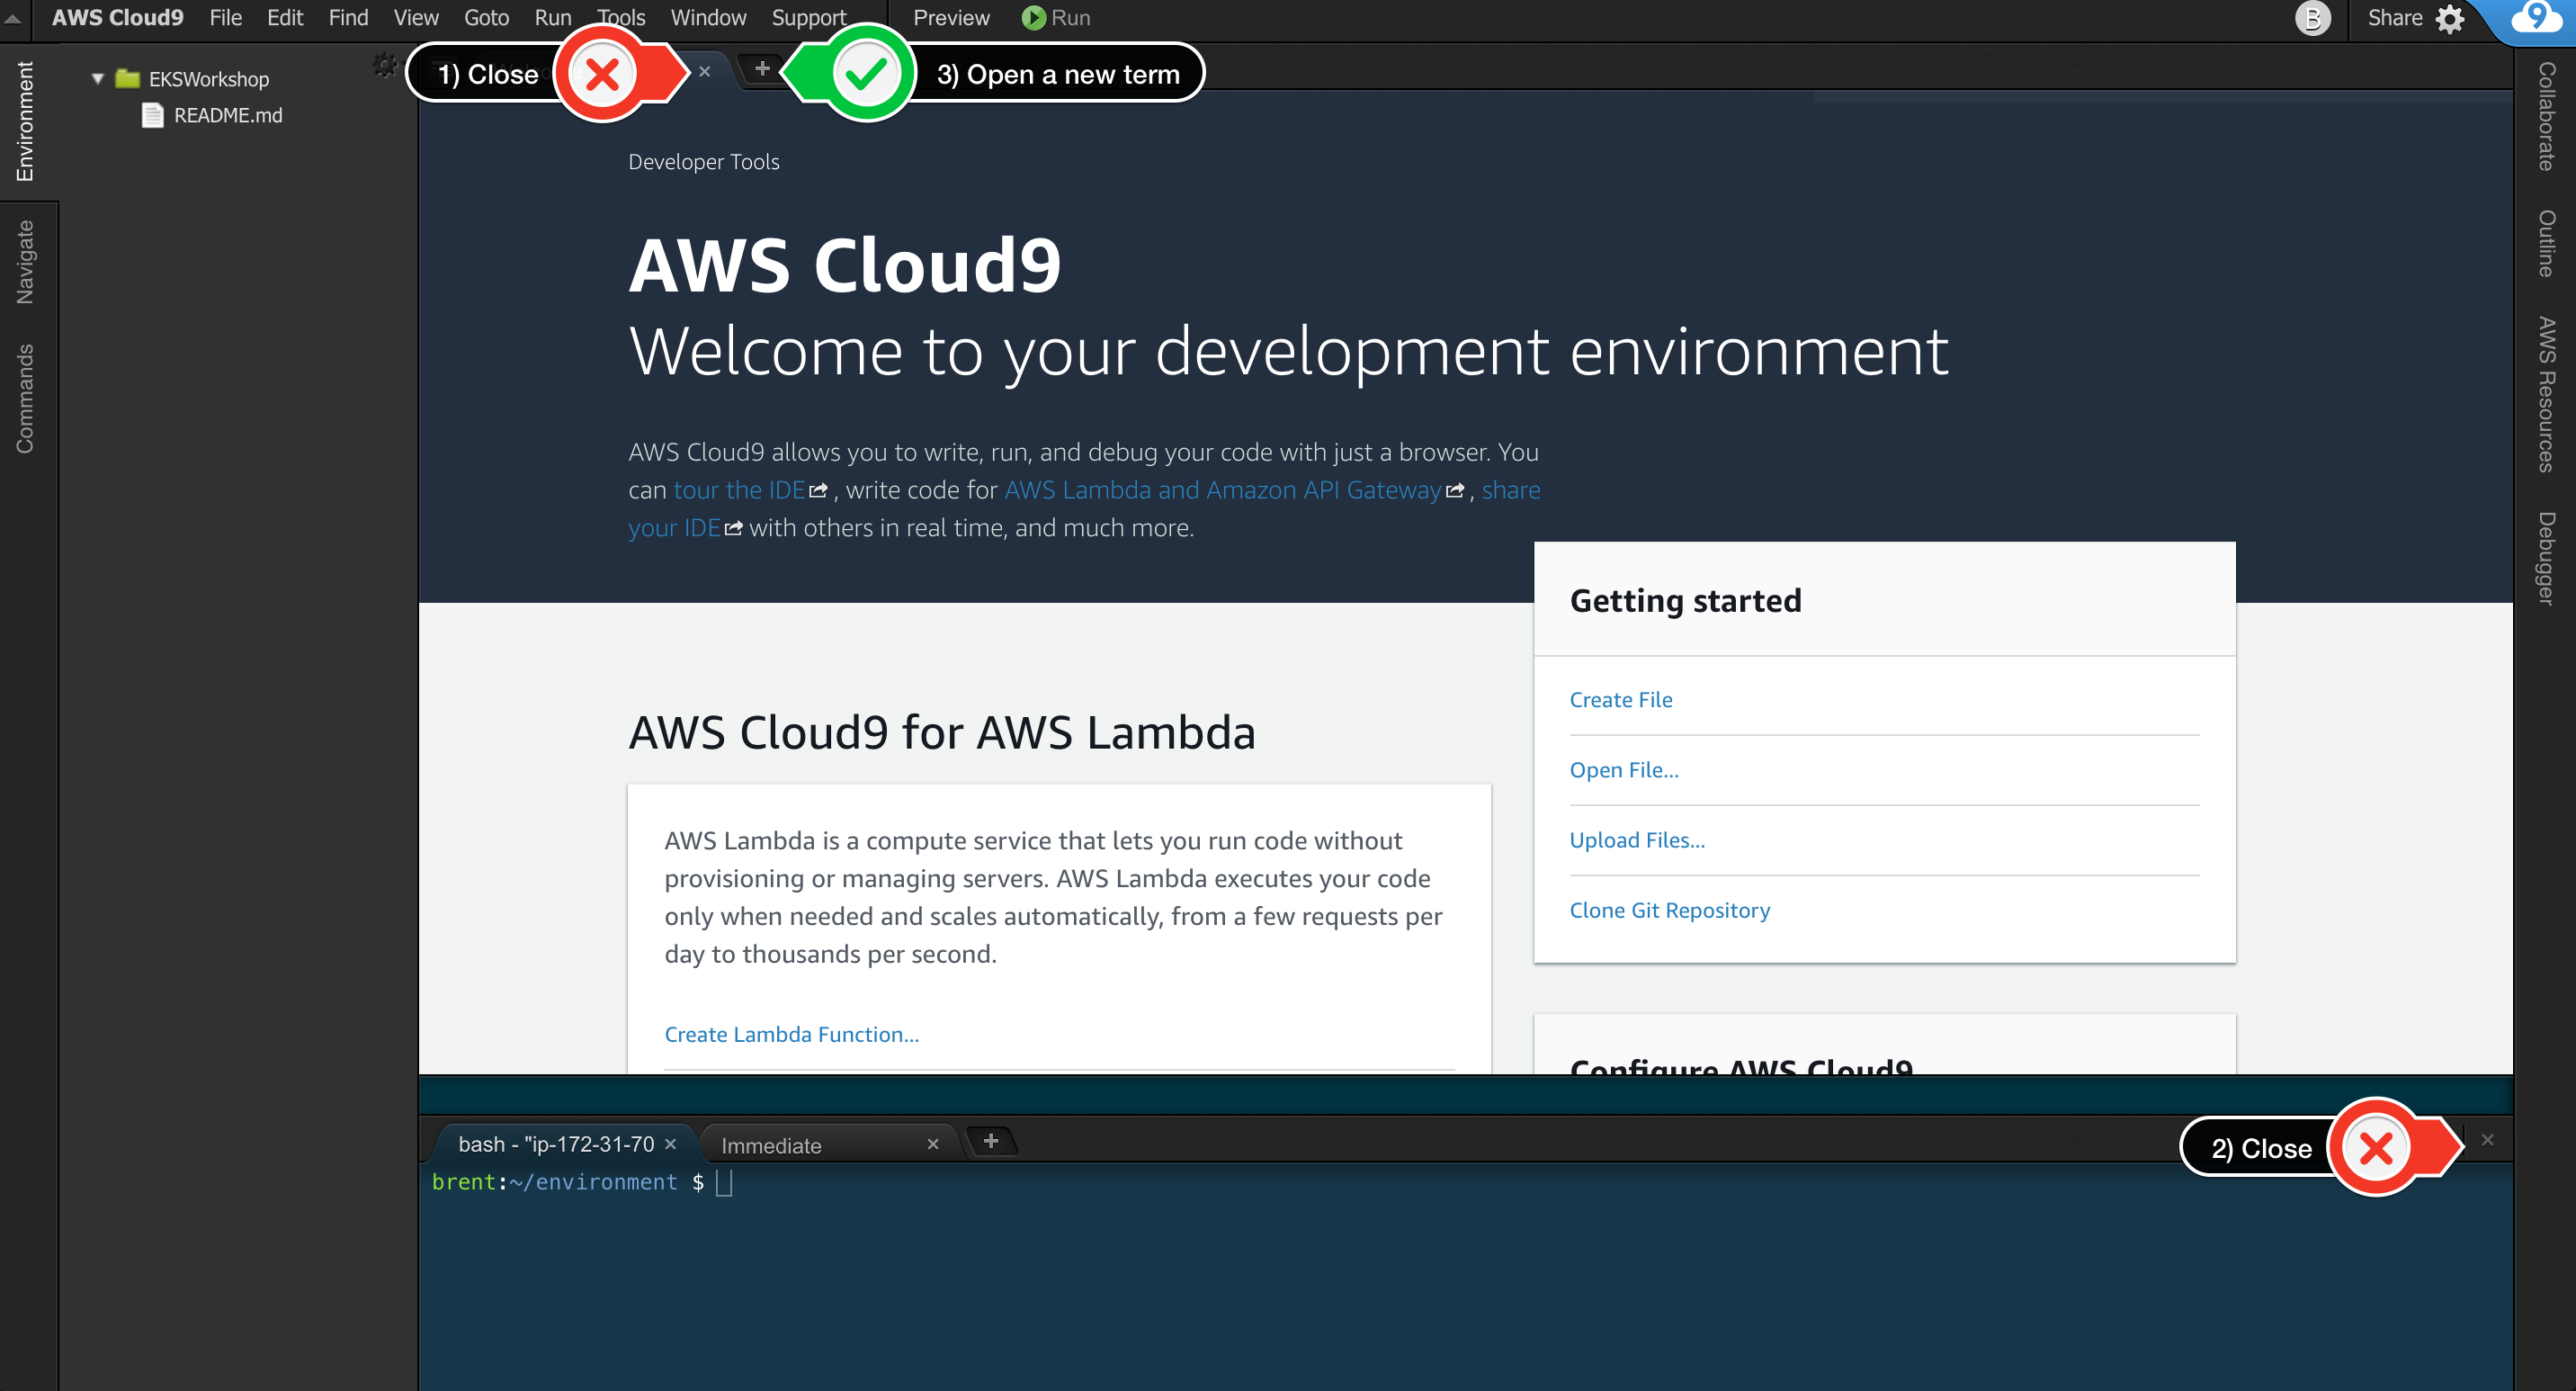
When the Cloud9 console is shown, customize the environment by closing the welcome tab and the AWS Toolkit tab, lower work area, and opening a new terminal tab in the main work area:
-
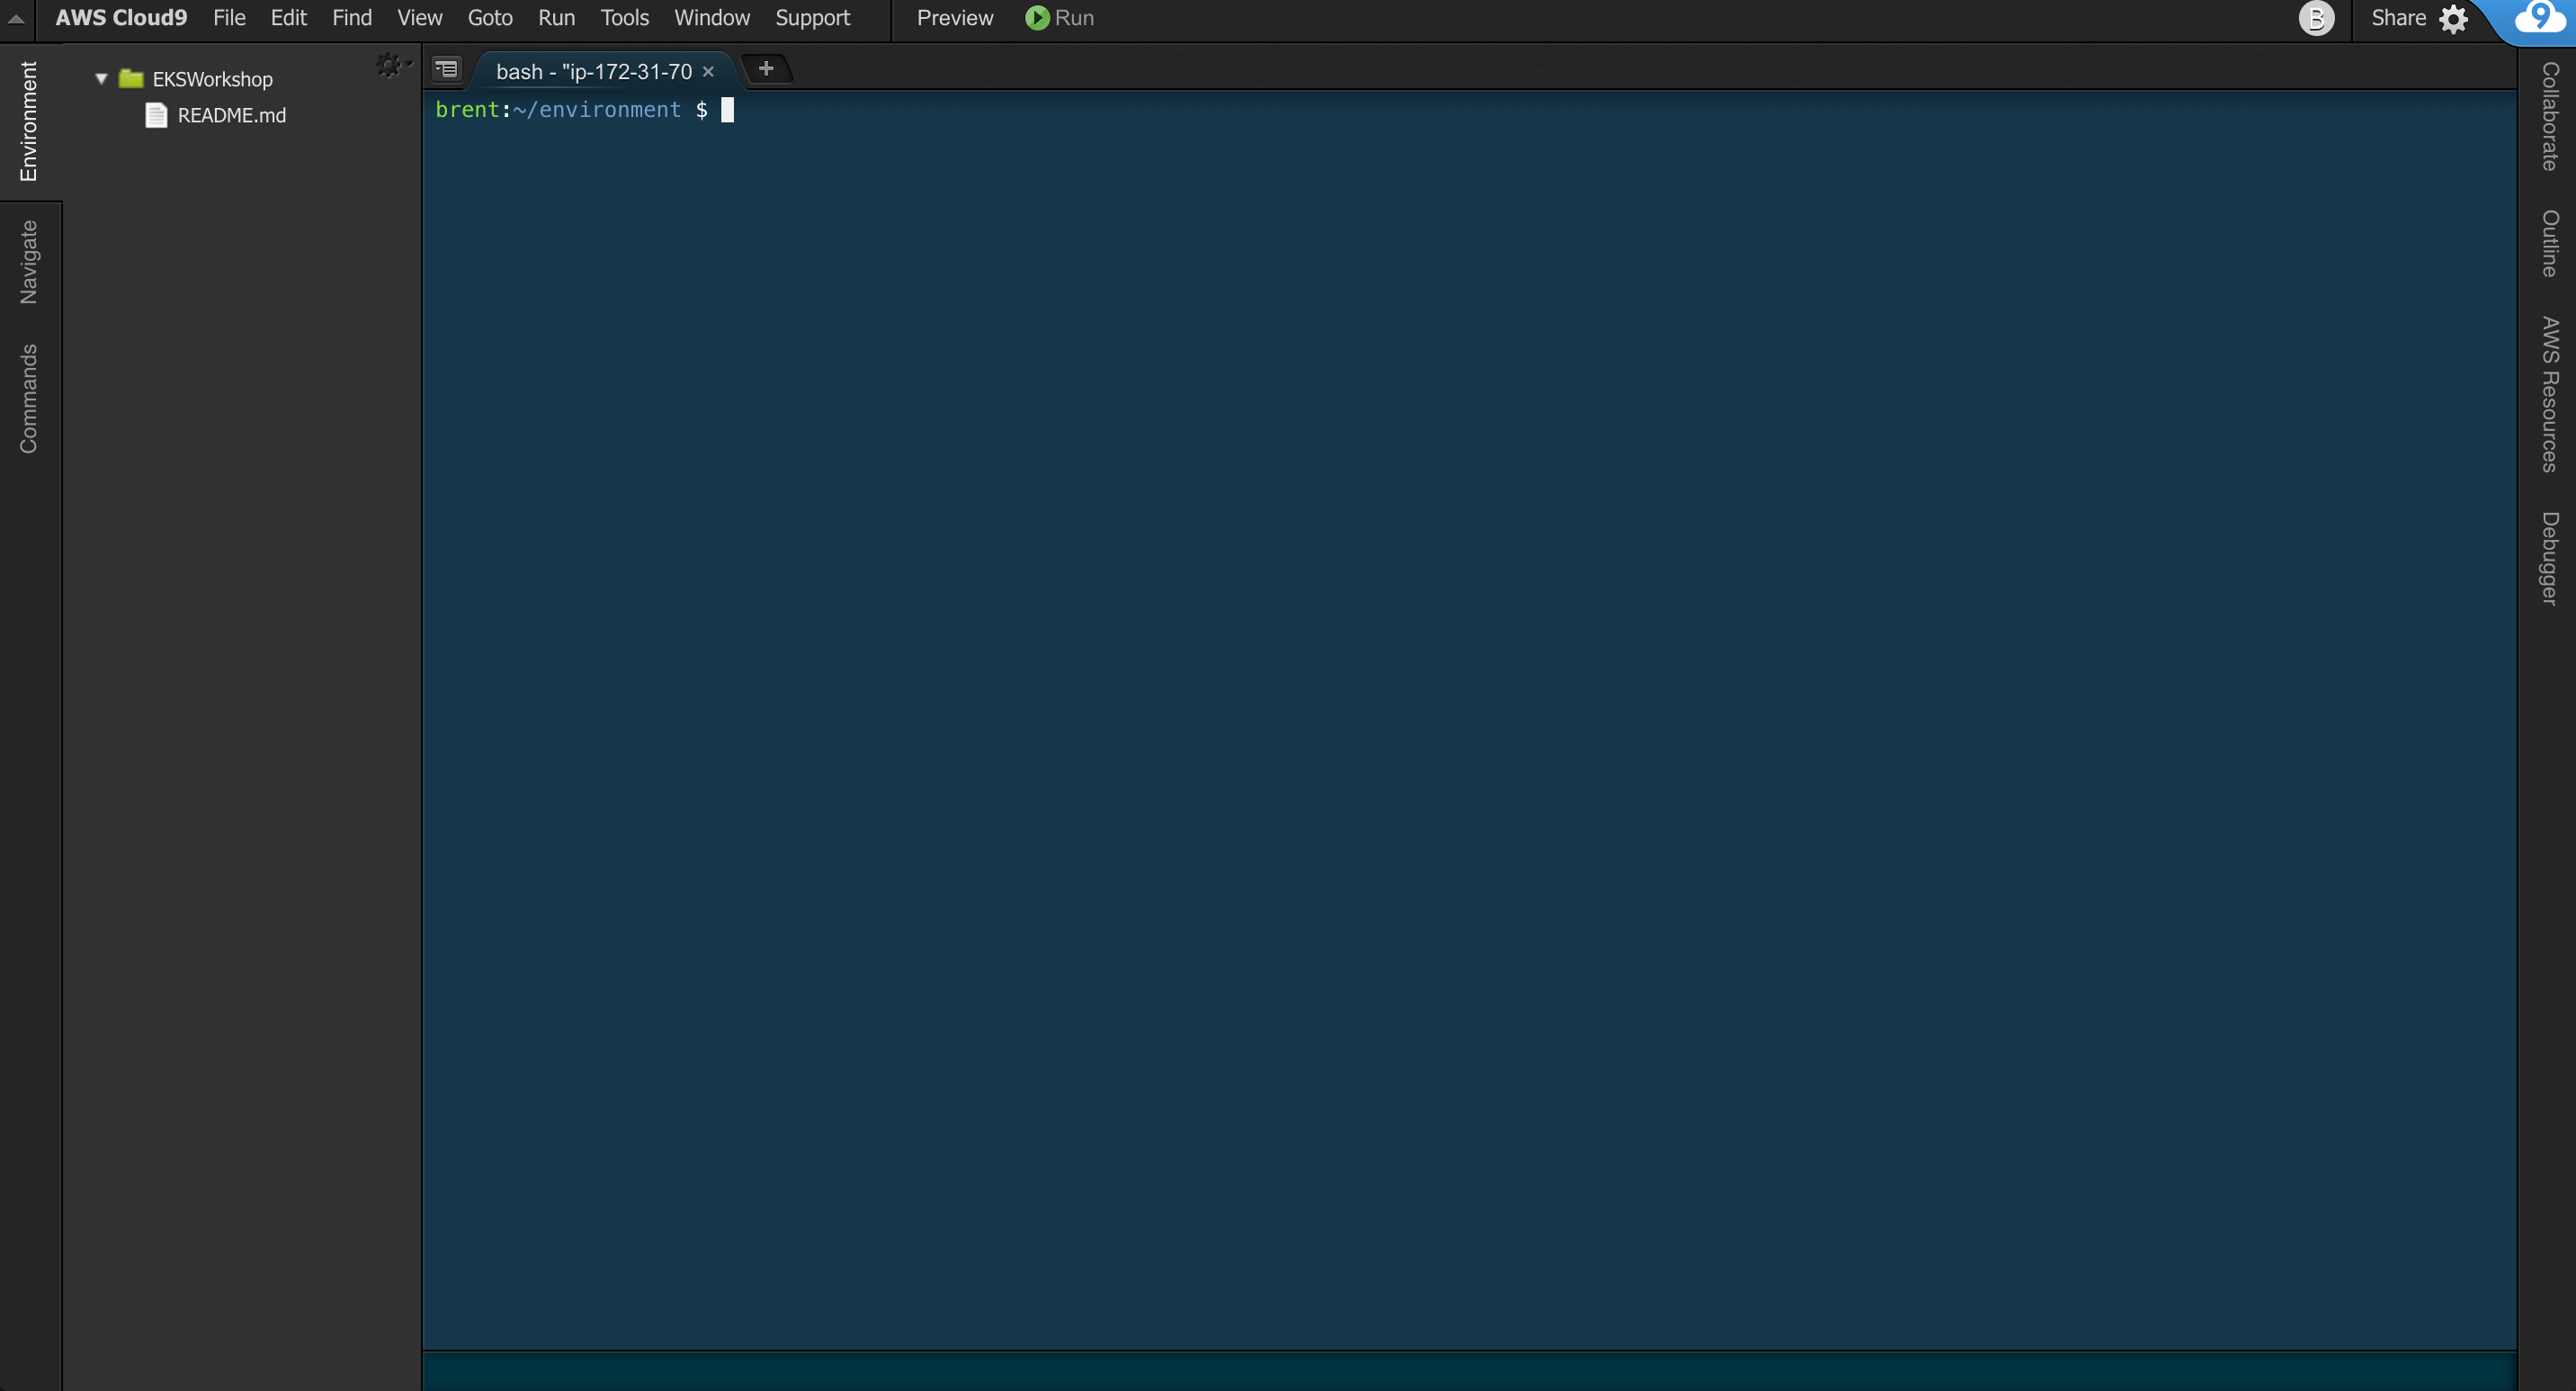
Your workspace should now look like this:
If you like this theme, you can choose it yourself by selecting View / Themes / Solarized / Solarized Dark in the Cloud9 workspace menu.