Connect to Session Manager Workstation
To interact with the Aurora DB cluster, you will use a Amazon EC2 Linux that acts as a workstation to interact with AWS resources in labs. All necessary software packages and scripts have been installed and configured on this EC2 instance for you. To ensure a unified experience, you’ll be interacting with this workstation using AWS Systems Manager Session Manager. With Session Manager you can interact with your workstation directly from the management console, without the need to install any software on your own devices.
1. Connect your workstation instance
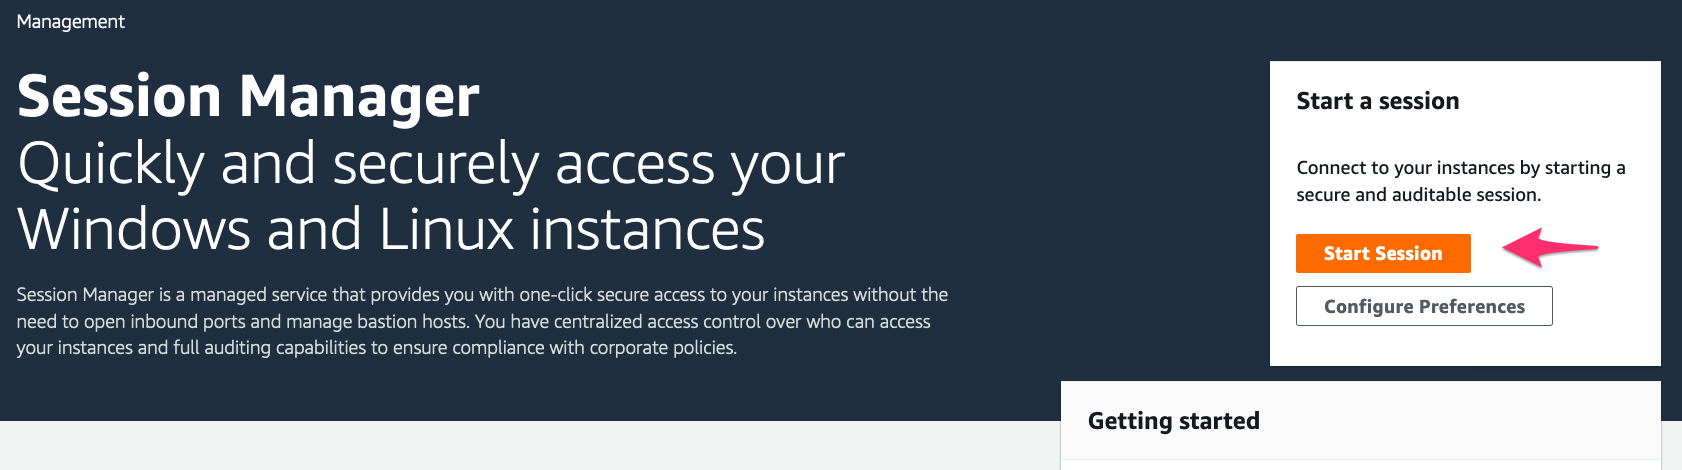
Open the Systems Manager: Session Manager Service Console . Click the button Start session.
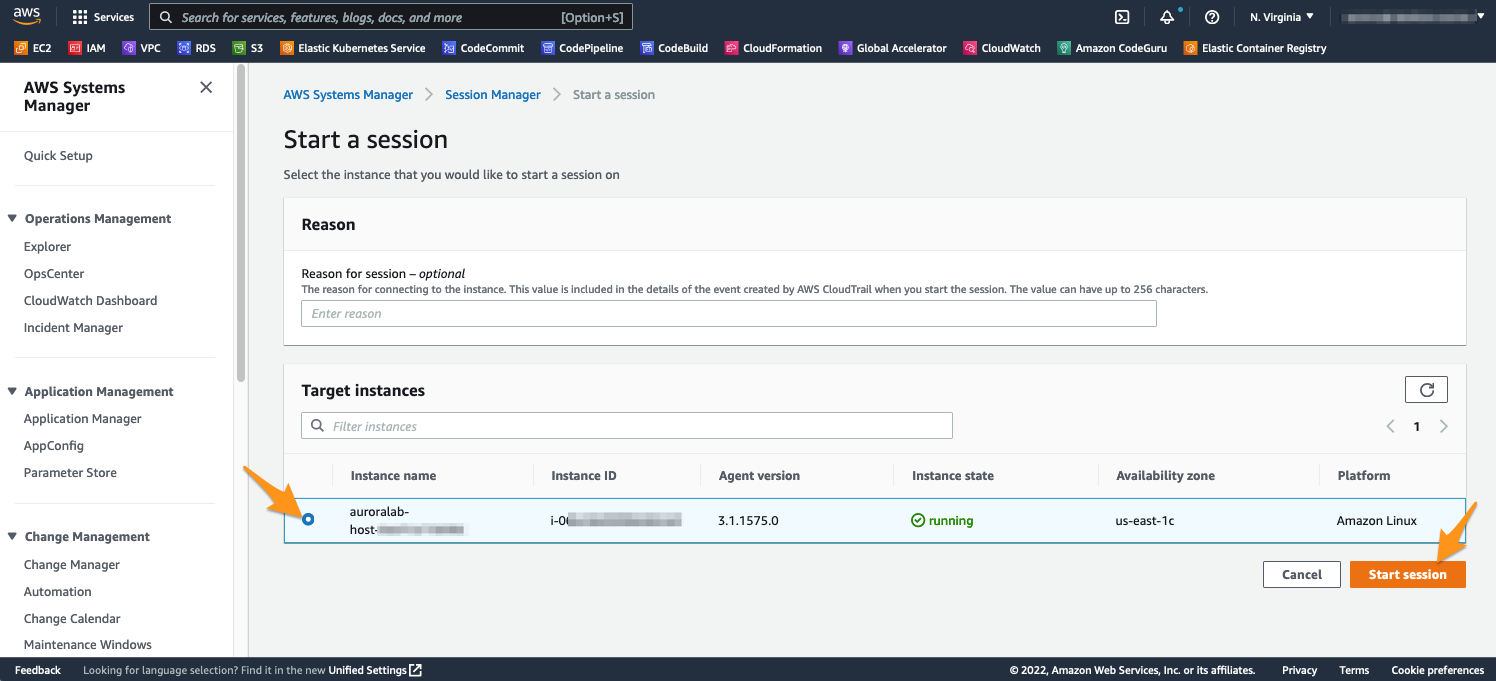
Make sure you have selected the correct region.
Select an EC2 instance to establish a session. The workstation is called auroralab-host-*, select it and click Start session.
You should see a terminal screen and a prompt when connected to the workstation. Enter the following commands to change to the ec2-user user.
sudo su -l ec2-user
Linux User Account
By default, Session Manager connects using the user account ssm-user. With the above command, you are changing the user account to the user’s account ec2-user, which has the correct settings required for laboratories. You can always verify the current user’s account by typing whoami, this command will show the current user’s account.
If you encounter errors while accessing subsequent lab commands, it’s likely that the user’s account has not been changed with the above command.

2. Check the lab environment
Let’s make sure your workstation has been set up correctly. Type the following command at the Session Manager command line:
tail -n1 /debug.log
You should see the output: * signal bootstrap complete. If that’s not the output you see, please wait a few more minutes and try again.
After verifying that the environment is set up correctly, you can close this tab and continue in the previous one.